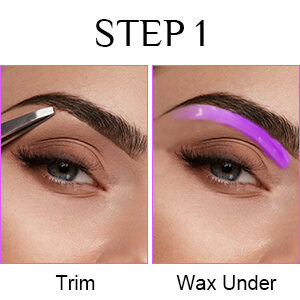
STEP 1
● DEFINE YOUR EYEBROW SHAPE
Filling in the brow gives you more precision when it comes time to wax. Make sure that your brows look the way you want them to as the goal is to wax only the hairs that fall outside of your newly drawn-on borders. Once you’re fully satisfied with the shape, pass go and move on to the waxing part.
● PREP WAX CORRECTLY
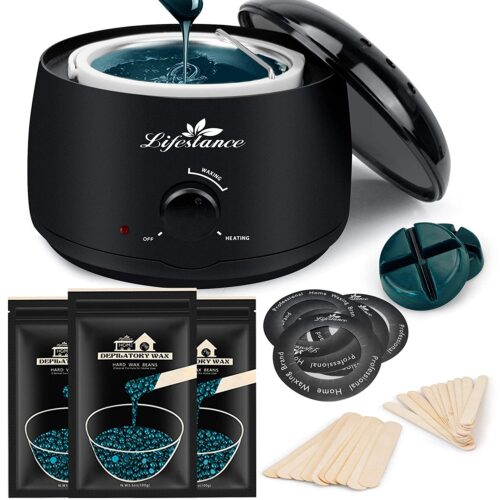
Choosing the wax beans you like to heat in Lifestance wax pot. Wax should be the thickness of peanut butter or honey. Once it becomes too liquid and looks more like oil, it’s way too hot.Test a small amount on your wrist before applying. |
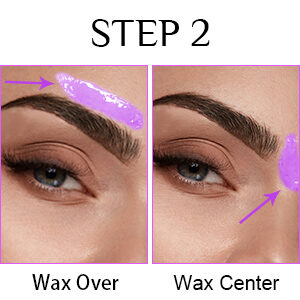
STEP 2
● WORK IN SECTIONS
Waxing your eyebrows in sections, rather than in one fell swoop. This makes for easier application, more precise hair removal, and ultimately, better results. Wax the top of the tail, then the top of the bridge. After doing those two spots on one brow, repeat on the other side to make sure both brows look the same so far.Finish by waxing underneath the tail and the bridge, then do one last pass in between brows
● PULL WAX IN OPPOSITE
Smear the wax on in the direction of the hair.Hold skin tautly with one hand and remove the wax with the other. Pull it off parallel to the face and in the opposite direction of hair growth. |
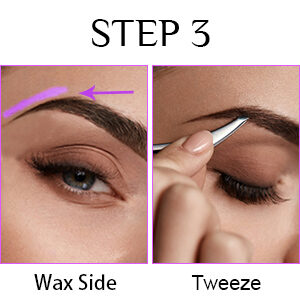
STEP 3
● CLEAN IT UP
To avoid irritation –wax each section of the brow only once. Still see some stragglers? Now’s the time for tweezers. A drop of oil, any kind, will cut through the stickiness and help you get it off.
● EYEBROW AFTER CARE
If your skin is sensitive,an aloe-based lotion or gel to soothe the area and tamp down redness. If you develop more serious redness,a dab of cortisone cream will help soothe any irritation.
And steer clear of oils or oil-based products afterward, as they can clog up the pores of freshly waxed skin.
|












Reviews
There are no reviews yet.